In our experience, this is how a lot of home ramps go wrong. The new wood ramp looks great. The chair rolls up it easily. Then the front casters stop dead at the raised threshold of the front door, and on the way down there's a lip where the ramp meets the old walkway. Nothing was wrong with the ramp itself. It was wrong at the ends.
That's the thread through this guide to how to build a wheelchair ramp, whether you're after an ADA ramp at a business or a home ramp for a family member. Start with the measurement, the route and the two transitions, pick a material that fits how permanent the ramp needs to be, and treat the footings and house connection as structure. The specific slope, landing and handrail numbers for home ramps in California are in our residential ramp code guide; this guide is about the build.
Quick answers
Building a wheelchair ramp is a sequence, and each step shapes the next:
- Measure the rise from the door sill to the ground.
- Plan the route, the turns and the landings.
- Choose the material: modular aluminum, wood or concrete.
- Set footings and decide how, or whether, it connects to the house.
- Frame or form the ramp.
- Add a slip-resistant surface.
- Add edge protection and handrails.
- Finish the two ends: the door and the ground.
Before you start: who will use it
In our experience, the best ramp designs start with the person, not the lumber. A few questions shape every step that follows:
- Manual chair, power chair, scooter or walker? A manual chair user feels every bit of slope and length. A power chair or scooter is heavier and wider, which matters for landings and turns.
- Independent or assisted? A caregiver pushing a chair needs room to stand and turn behind it, especially at the door.
- Now or for the long term? A need expected to change points toward a modular ramp; a lasting one points toward wood or concrete.
- Which door? The front door is not always the easiest one to ramp. A side or back door with a lower rise can mean a much shorter ramp.
Step 1: Measure the rise
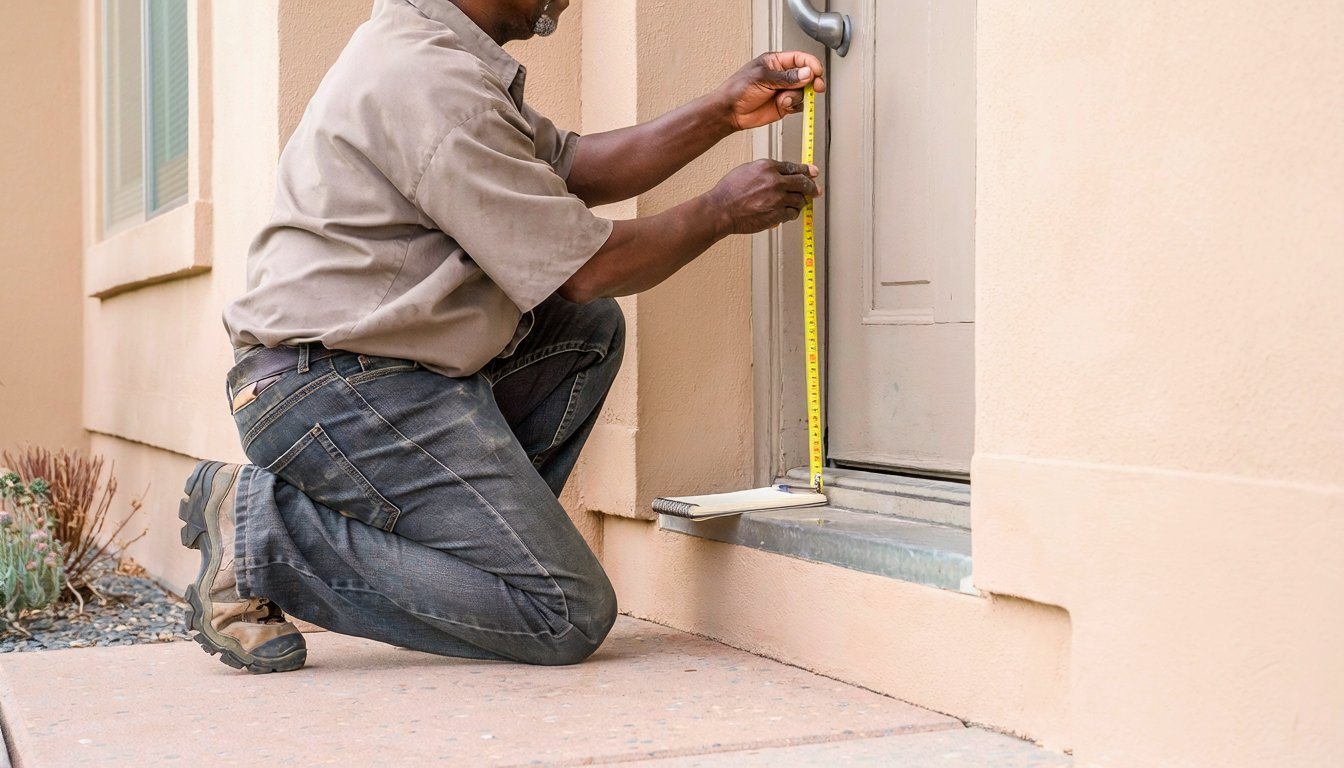
Everything else follows from one number. A ramp-building guide from the Ramp Project puts it plainly: "The first figure is the distance from the exit door's sill down to the ground, or 'grade', at the house's foundation." Iowa's volunteer ramp guidelines use the same first step in their stair-design appendix: "Measure the approximate total rise."
In our experience, two details make that measurement useful. Measure from the top of the door sill, not the porch floor, because the threshold is part of what the chair has to climb. And check the ground where the ramp would end, since a yard that slopes up or down changes the total rise.
The rise sets the length. A gentler slope means a longer ramp, and a longer ramp means more room, more turns and more landings. Our residential ramp code guide covers the slope rules that turn a rise into a length.
Step 2: Plan the route and layout
Once you know roughly how long the ramp needs to be, the question is where it fits. The Ramp Project describes the three common shapes: "The three most common ramp layouts are: 'straight-shot'- landings and rampway in a straight line; 'dog-legged' or 'L-shaped'- ramp changes direction 90 degrees at an intermediate landing; can also be called a 'wrap-around' when it hugs the house; 'switchback'- 180-degree change in direction between one run of rampway, an intermediate landing, and another run of rampway."
Every layout needs landings. The same guide defines them as "the level areas required at the top, bottom, and sometimes at intermediate locations in a rampway." In our experience, the layout decision is really about three things: where the ramp can land (a driveway, a walkway, the car), what it blocks (windows, a hose bib, a gate, a path for other people in the house), and how much of the yard it takes.
This is also the point to check on permits, before anything is built. The Ramp Project's advice on whether a permit is needed is simple: "The only way to find out is to contact the building code office for your community." In our experience, permanent ramps in Los Angeles often need one; our residential ramp code guide covers the local details.
Step 3: Choose the material
In our experience, the right material depends mostly on how long the ramp is needed and how high it has to climb.
| Modular aluminum | Wood | Concrete | |
|---|---|---|---|
| Best for | Temporary or changing needs | Many permanent home ramps | Permanent ramps with low upkeep |
| Footings | Usually none | Posts on footings | A formed, poured structure |
| Reusable | Yes | No | No |
| Upkeep | Low | Sealing, fastener checks, board replacement | Low |
| Who usually builds it | Dealer installs | Contractor or skilled DIYer | Contractor |
In our experience; a general guide, not a rule.
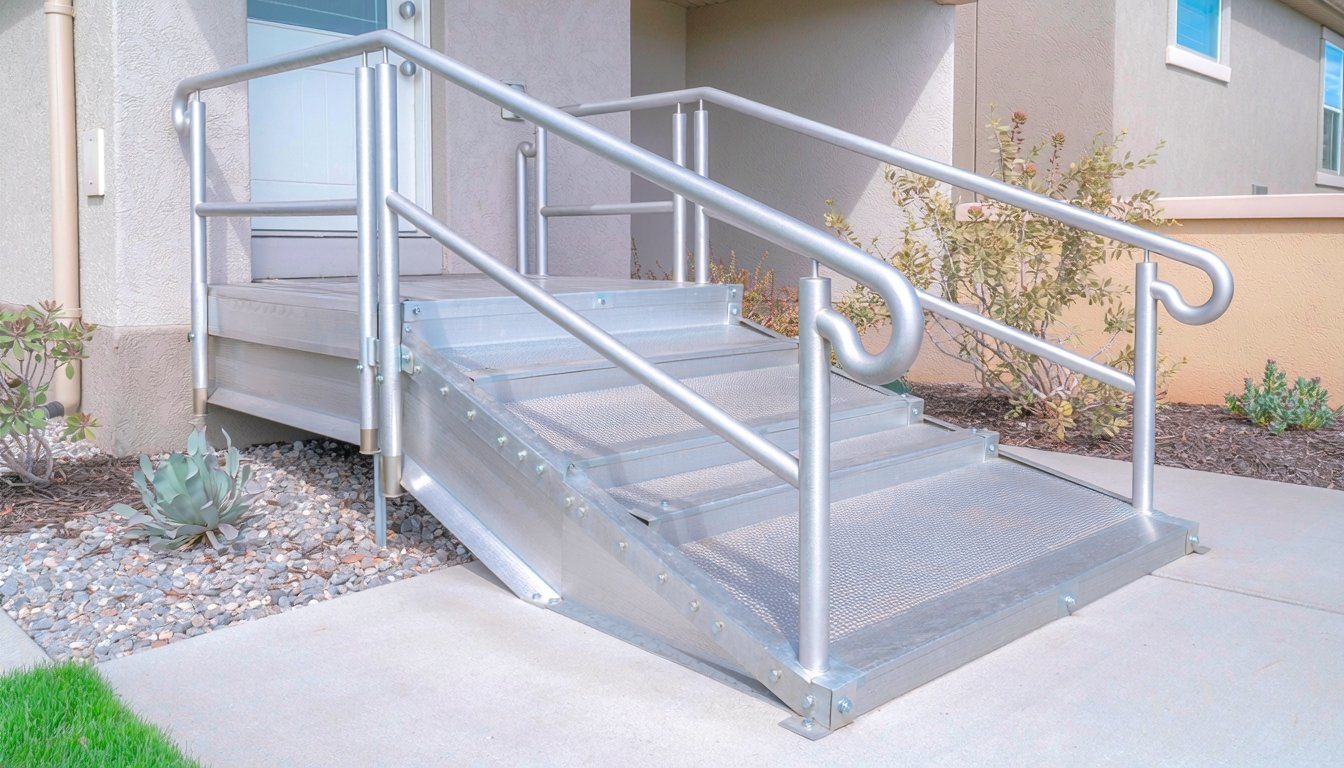
In our experience, modular systems are the fastest route for many families. Lifeway Mobility, a ramp dealer, describes them as needing "no poured footers, no construction – just simple assembly" and notes they "can be broken down and reinstalled at a new home, if desired." In our experience, temporary modular ramps are often treated differently from permanent structures for permitting, but ask the building office before assuming either way.
Concrete is its own project. Our concrete ramp cost guide covers what goes into a poured ramp.
Step 4: Footings and the house connection
For a wood ramp, the structure starts in the ground. The American Wood Council's prescriptive deck guide, written for decks but built on the same principles, says: "All footings shall bear on undisturbed soil at least 12 inches below the undisturbed ground surface or below the frost line, whichever is deeper."
In our experience, where a ramp or landing attaches to the house, deck-ledger practice is the closest guide. The deck guide requires that "Approved corrosion resistant flashing is required at any ledger board connection to a wall of wood framed construction," limits ledger fasteners to a short approved list (lag screws or bolts on wood-framed walls) and prohibits lead anchors, and states that "Attachments to exterior veneers (brick, masonry, stone), hollow masonry, and to cantilevered floor overhangs or bay windows are prohibited."
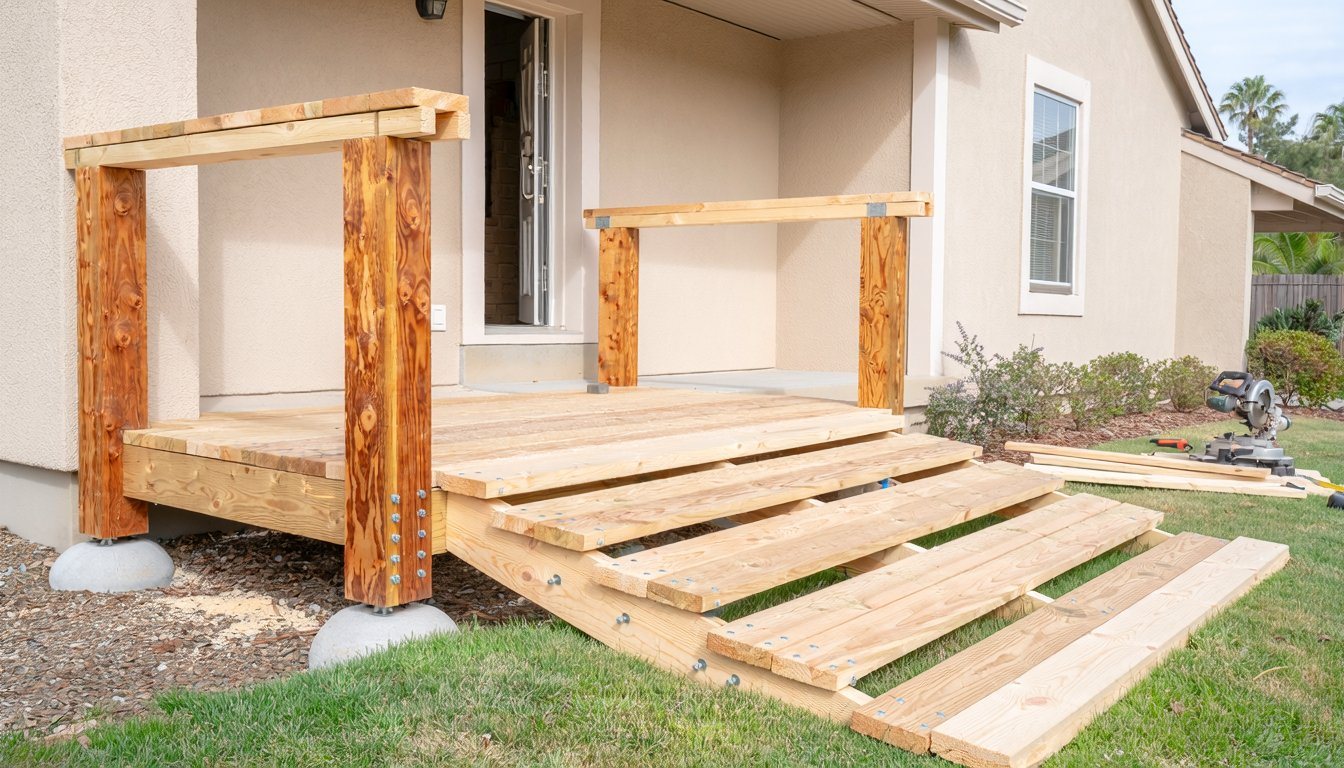
In our experience, many home ramps avoid the ledger question entirely with a freestanding top landing on its own posts, set close to the door but not bearing on the house. That keeps water and rot away from the house framing, which is where attached ramps most often cause problems.
Step 5: Frame or form it
In our experience, a wood ramp is framed much like a low deck: posts on footings, beams, then sloped joists carrying the decking, with the landings framed level. In our experience, lumber that touches the ground or sits close to it should be treated for ground contact. Joist size and spacing, and how the framing is braced, depend on the span and the load, and a permitted ramp will have them on the plans.
Concrete ramps are formed and poured instead, usually with the landings and the sloped run shaped in one structure. In our experience, the forms are where accuracy is won or lost, because a concrete slope can't be adjusted after it cures.
Step 6: Surface and traction
In our experience, a ramp that's easy to climb dry can be dangerous wet. The Ramp Project notes: "It is advisable for ramps to have an 'anti-slip' running surface; depending on local building code enforcement, this may be a requirement."
In our experience, the practical options are a textured coating or grit strips on wood, and ridged or textured decking on modular systems. Run the decking or surface texture across the slope, not along it, and make sure water sheds off the sides rather than pooling on landings.
Step 7: Edges and rails
Edges keep wheels on the ramp. The Ramp Project describes "'Crutch stops' are curbing mounted on, or a few inches above, the surface of the structure's perimeter," which stop a wheel, cane or crutch tip from slipping off. Higher ramps need more: the Iowa guidelines state that "Enclosed sides (Guards) are required for sections of the ramp over 30″ above the ground or other lower surface."
Handrails are the part people grab when something goes wrong, so they need to be solid and continuous. In our experience, rails that end short of the landing, or that wobble, are among the most common problems on home-built ramps. The handrail rules for home ramps are covered in our residential ramp code guide.
Step 8: The two ends
In our experience, the ends are where finished ramps fail. At the top, a raised door threshold can stop a chair even when the ramp is perfect; our residential ramp code guide covers the door end in detail. At the bottom, the ramp has to meet the walkway, driveway or ground without a lip. A tapered transition, a short concrete apron or regrading the ground so it meets the ramp flush all work. Check both ends with the actual chair or walker before calling the job done.
DIY or hire?
In our experience, some ramps are reasonable DIY projects and some aren't:
- Often reasonable to DIY or have a dealer install: a low rise, a threshold ramp or a modular system that doesn't attach to the house.
- Usually worth hiring: a higher rise that needs guards and turns, a ramp attached to the house, anything in concrete, or any ramp that needs a permit and inspection.
In our experience, the deciding question isn't skill with a saw. It's whether the person using the ramp can safely depend on it every day, in the rain and in the dark. For what ramps cost by type, see our ADA ramp cost guide.
The bottom line
A wheelchair ramp is built from the rise out. Measure first, plan the route and landings, choose a material that fits how long it's needed, and treat the footings and house connection as structure. Then give the surface, edges, rails and both ends the same care as the slope. Medici Construction Group is one licensed option for building home access ramps, holding California A, B and C-10 licenses under CSLB #1114433.
Frequently asked questions
How do you build a wheelchair ramp?
Measure the rise from the door sill to the ground, plan the route and landings, choose a material, set footings and any connection to the house, frame or form the ramp, then add a slip-resistant surface, edges and handrails. In our experience, the two ends deserve the most care.
What material is best for a wheelchair ramp?
It depends on how long the ramp is needed and how much it rises. In our experience, modular aluminum suits temporary or rented needs, wood suits many permanent home ramps and can be built on site, and concrete suits permanent ramps where durability and low upkeep matter most.
Can you build a ramp over existing stairs?
Sometimes, but in our experience it rarely works as simply as it looks. The stairs usually rise too steeply for a ramp laid directly over them, so the ramp needs to start farther out, and the steps may need to stay usable for others in the household.
How do you make a wheelchair ramp less slippery?
Use a slip-resistant surface from the start, such as a textured coating, grit strips or a ridged modular surface. In our experience, keeping the surface clean and dry, shedding water off the sides and adding cover or lighting where needed all help, especially on wood in wet weather.
Can a wheelchair ramp be attached to the house?
It can, with care. The American Wood Council's deck guide calls for flashing where a ledger meets a wood-framed wall and prohibits attaching to brick or stone veneer and cantilevered overhangs. In our experience, a freestanding landing that doesn't bear on the house is often simpler.
Do I need a permit to build a wheelchair ramp?
In our experience, often, for a permanent ramp; ask your local building department. Our residential ramp code guide covers permits in Los Angeles.
What slope should a wheelchair ramp have?
Our residential ramp code guide covers the slope, landing and handrail rules for home ramps in California.